How Ceramic Mugs Are Made
How Ceramic Mugs Are Made
Consider it “old school” or traditional, but most people prefer drinking their coffee or tea from ceramic mugs. These containers have been around ever since anyone can remember and remained popular for their classic look and reliability. There is no doubt that these ceramic mugs will continue to be around for a very long time.
The Process of Making Promotional Ceramic Mugs
There are two methods which can be used to make mugs: hand building or industrial process. For obvious reasons, the process of creating ceramic mugs manually is time-consuming. The resulting mugs will also be unique to each other. On the other hand, you can expect to produce a lot of ceramic mugs in a short time when you have machines to do it for you. The industrial method also guarantees the ceramic mugs to look identical.
Handcrafted Ceramic Mugs
When it comes to manually making a ceramic mug, everything is dependent on the individual’s creativity and skill. Here is a step by step guide:
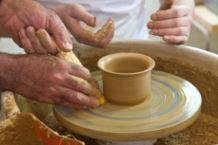
Step 1: Create a cup on a potter’s wheel using clay
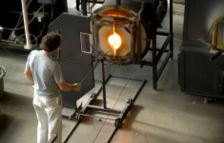
Step 2: Bake the finished cup in a kiln
Step 3: Wait for the cup to cool off before checking for cracks or other imperfections.
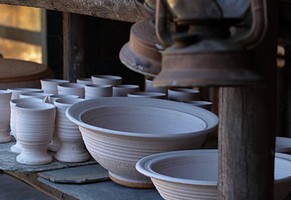
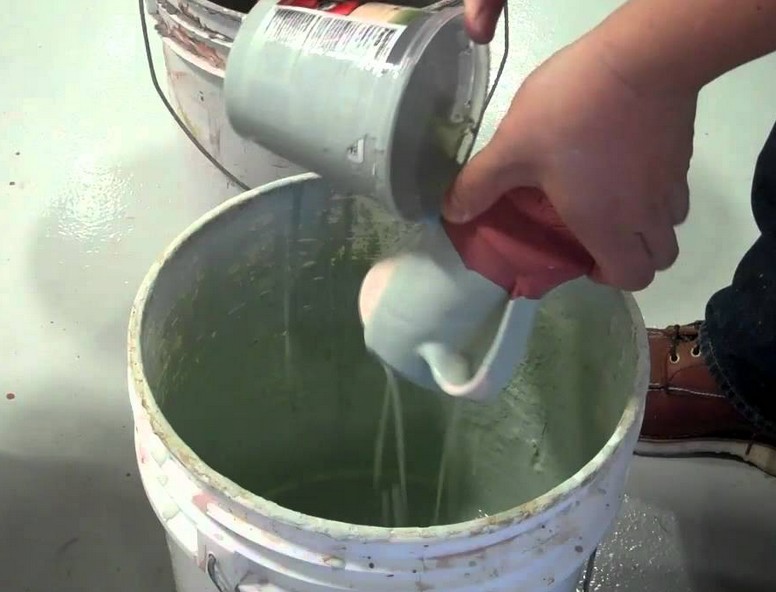
Step 4: Glaze for a glossy look.
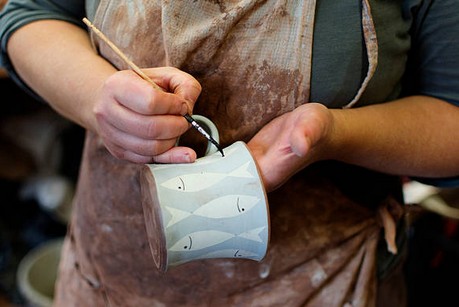
Step 5: Decorate by hand painting the ceramic mug.
Mass Manufacture of Ceramic Mugs
For the industrial process, there are certainly more steps and the process a lot more complicated. Check it out below:
- Step 1: Create a prototype of the mug in plastic or plaster. Plastic is preferred as it does not get damaged during the mould casting. This prototype can either be carved or handmade and contains details which are desired for the final product.
- Step 2: Create the moulds. This is an important step as it is the means to replicate the ceramic mugs. In most cases, several moulds are created to increase productivity. They contain four parts: two halves for the body and two halves for the handles.
- Step 3: Cast the clay into the mould. There are three kinds of clay material which can be used to make the mugs: stoneware, porcelain or earthenware. The clay is diluted and then cast into the moulds.
- Step 4: Leave clay to harden. In this step, the plaster mold will be absorbing the moisture from the clay.
- Step 5: Remove molds from the hardened clay.
- Step 6: Place the hardened mugs into a kiln for the firing process. The industrial kilns are usually capable of holding hundreds of cups and come with plenty of shelves. The temperature will be dependent on the clay material used. For example, porcelain will require 2,600 degrees Fahrenheit. On the other hand, earthenware requires temperatures below 2,100 degrees Fahrenheit. Depending on the kiln size and type, the firing process can take from anywhere between 2 and 12 hours.
- Step 7: Glaze the ceramic mugs after they have cooled down. The glazing process will create the glossy look of the ceramic mugs.
- Step 8: Prepare cups for second firing. Duration will be dependent on type of glaze used.
- Step 9: Remove the ceramic mugs from kiln and allow them to cool down.
Buy Promotional Ceramic Mugs
Because the team here at Planet Mugs are experienced in both the design and manufacture of customised ceramic mugs, we will assist you in creating unique promotional products featuring your logo design. Check out or range of fantastic bulk promotional ceramic mugs or contact our sales team directly to find out more about our customisation options. We can't wait to work with your Australian business or community organisation!


